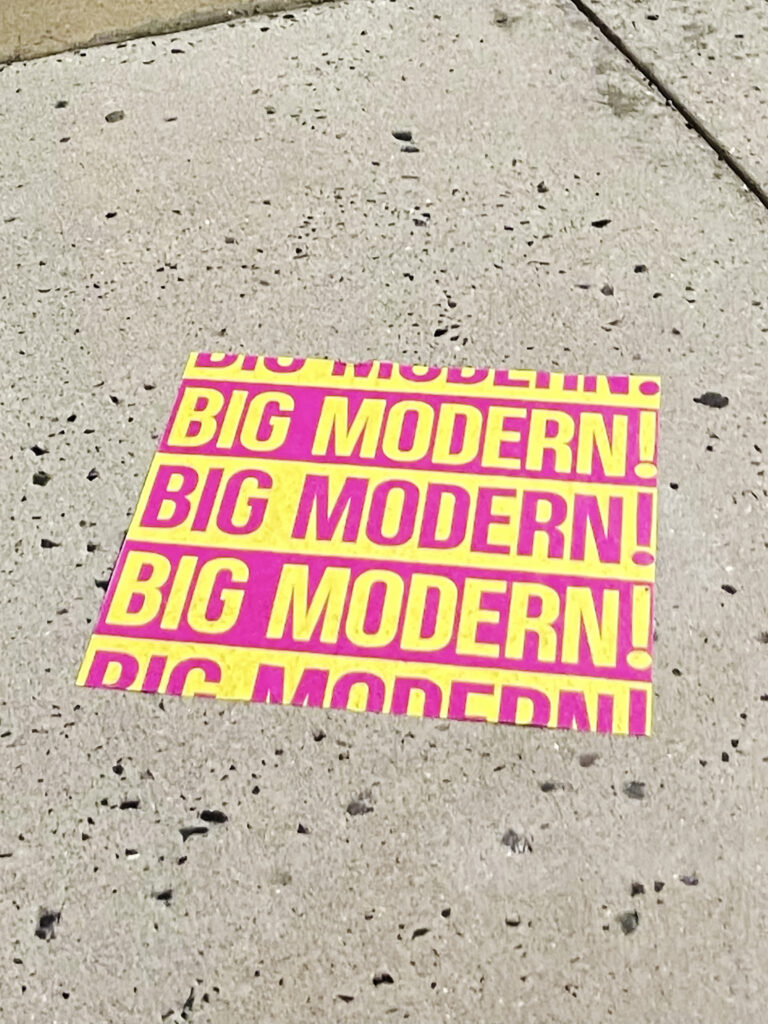
Custom sidewalk decals look like a design decision. They are actually a series of material, surface, finish, and logistics decisions that happen before anyone opens a design file. A campaign that gets those decisions right produces graphics that look strong throughout the campaign window, hold to the pavement, remain safe for pedestrians, and come off cleanly at the end. A campaign that gets those decisions wrong produces peeling edges, safety complaints, and removal headaches that cost more than the install did.
Our team has deployed ground graphics across event campuses, retail corridors, transit plazas, conference centers, and pedestrian zones in more than fifty U.S. markets. The specifications, techniques, and planning principles below reflect what actually works in real outdoor environments, not what looks clean on a spec sheet.
If you are planning a sidewalk decal campaign for a brand activation, retail push, event sponsorship, or street-level promotion, this guide covers every decision that affects whether the campaign delivers at the standard you need.
What Custom Actually Means in Sidewalk Decal Campaigns
Custom does not mean expensive. It means the graphic, size, surface specification, finish, and route logic are built around a specific campaign goal rather than pulled off a shelf. A generic floor graphic works in a controlled indoor environment with consistent surfaces. A custom outdoor decal campaign for a brand activation in three markets with varying pavement conditions, weather exposure, and pedestrian volume requires a specification built around those specific variables.
Custom also means the design file is created to work at actual ground-level scale. A design that looks clean at standard print dimensions often fails on the pavement because the viewing angle changes everything. At ground level, distortion from perspective, surface texture, and the way light falls on a textured coat all affect how the graphic reads. Custom design for ground graphics accounts for that viewing geometry from the start.
Custom Does Not Mean Complex
Some of the most effective sidewalk decal campaigns use very simple graphics: a brand mark, a directional arrow, a color block with a short phrase. The custom element is the size, placement, and surface match. A forty-eight-inch brand mark on a smooth concrete surface at a convention entrance is a custom solution. It does not need to be elaborate to be effective.
Material Standards for Outdoor Ground Graphics
The vinyl substrate used for outdoor sidewalk decals needs to handle UV exposure, foot traffic abrasion, moisture contact, and the mechanical stress of people walking across it at all angles. Not all vinyl is rated for that combination of demands. The material specification matters.
Standard outdoor decal material for pedestrian applications uses a pressure-sensitive vinyl with a release liner, a UV-stable printing surface, and a protective laminate bonded to the top layer before the non-slip coat is applied. The laminate protects the print from ink abrasion and adds structural integrity to the decal when people step on it. Without adequate laminate thickness, even a properly installed decal will show print wear within the first few days of heavy foot traffic.
Adhesive Selection by Surface Type
Adhesive selection is driven by surface porosity and campaign duration. Smooth, sealed concrete surfaces accept a standard permanent pressure-sensitive adhesive that provides clean hold and predictable removal behavior. Porous, rough, or slightly damp surfaces require a more aggressive adhesive formulation to prevent edge lift. Indoor event flooring, carpet underlayment, or coated warehouse concrete may require a specialty adhesive that holds well but releases cleanly. The wrong adhesive on the wrong surface creates either a decal that lifts before the campaign ends or a decal that leaves adhesive residue that takes hours to remove.
Substrate Thickness and Durability
Thicker substrates handle surface texture better and resist tearing at corners and edges. For high-traffic outdoor placements, a substrate of at least 4 mil is the practical minimum. Campaigns in areas with extremely heavy foot traffic or wheeled vehicle crossing points may require 6 mil or heavier material. Thinner substrates are adequate for lower-traffic indoor applications where the mechanical stress is reduced.
Non-Slip Finish Standards and Safety Requirements
A non-slip finish is not optional on any outdoor sidewalk decal that will carry foot traffic. Smooth vinyl surfaces become significantly more slippery than surrounding pavement when wet. In outdoor environments where rain, morning dew, spilled beverages, or street cleaning water are realistic conditions, a smooth-surfaced decal is a liability in every practical sense of that word.
Non-slip coats add a textured surface layer to the decal that creates a friction coefficient comparable to the surrounding pavement. The coefficient of friction rating that is typically cited for pedestrian safety is 0.6 or above under wet conditions. Well-specified outdoor decal material with a proper non-slip coat meets or exceeds that standard. Material that is specified without a non-slip coat may not.
How Non-Slip Affects Print Quality
The texture coat necessary for non-slip performance does affect visual appearance. Fine-detail graphics and small type look slightly different through a textured surface than they would under a smooth gloss laminate. This is a design consideration, not a barrier. Bold graphics, large type, and simple color blocks read clearly through a non-slip finish. Complex, detailed artwork with very small type elements should be reviewed in print proofs before production to confirm readability at the intended viewing scale.
Surface Preparation Before Installation
Surface preparation is one of the most commonly skipped steps in sidewalk decal installation, and it is one of the most consequential. Decal adhesive bonds to the surface it contacts at the moment of application. If that surface has dust, debris, moisture, chalk residue, or previous adhesive contamination, the bond starts compromised and degrades faster throughout the campaign window.
Proper surface preparation begins with a visual and tactile surface assessment. The surface should be clean, dry, and free of any loose material. For outdoor installations, that often means sweeping first, followed by cleaning with a compatible surface cleaner that leaves no residue, followed by allowing the surface to fully dry before installation begins. In cold weather, surface temperature matters too. Pressure-sensitive adhesive bonds poorly to surfaces below approximately 50 degrees Fahrenheit.
Reading Surface Condition at the Scout Stage
The most efficient time to assess surface condition is during the location scout, before production begins. A surface that looks acceptable in photos may reveal itself during a physical inspection to have conditions that affect material specification, installation technique, or remove certain locations from the route entirely. Our team scouts every location before committing a specification to production specifically to avoid installing into conditions that will cause problems during the campaign window.
Installation Technique and the Variables That Matter
Installation quality affects visual appearance and hold duration in equal measure. A properly installed decal looks clean, sits flat across its entire surface area, has no visible edge gaps or lifting, and begins to bond aggressively to the surface within the first hour. An improperly installed decal shows bubbles, edge lift, or alignment problems that cannot be corrected after the release liner is removed.
The core technique for large-format decal installation involves a staged peel-and-press process using a squeegee tool to eliminate air and ensure full surface contact from one edge across to the other. For decals larger than approximately twelve by twelve inches, a two-person installation is standard so one person can tension the decal while the other presses out from center to edge. Single-person installation of large decals typically results in air pockets and alignment drift.
Corner and Edge Treatment
Corners and edges are the first points where outdoor decals begin to lift. After the main body of the decal is installed, corners should receive additional pressure and edge sealing if the surface conditions suggest elevated lift risk. On rough or porous surfaces, a compatible edge sealant applied around the perimeter after installation significantly extends hold time by preventing moisture from working under the adhesive at the most vulnerable points.
Route Deployment and Consistency Across Multiple Locations
A sidewalk decal campaign across multiple locations in a single market or across markets requires consistent installation execution to maintain visual brand standards. One well-installed decal and three poorly installed ones creates an inconsistent brand presentation that reads as amateur regardless of how strong the design is.
We deploy decal routes with standardized installation crews, consistent material specification, and photo documentation at every location immediately after install. That documentation serves as both a quality check and proof of performance for the client. It also creates a visual record of the exact state of each installation at the time of deployment, which is useful if any location shows early degradation.
Removal Planning: Why It Starts at Specification
Removal planning should begin at the same time as material specification, not after the campaign ends. The adhesive type selected for installation determines the removal method required at the end of the campaign. Brands that choose the most aggressive adhesive available to maximize hold duration sometimes discover that removal requires significantly more labor than anticipated and in some cases causes surface damage if the technique is not matched to the adhesive formulation.
Standard removal process for outdoor vinyl decals involves scoring the edge of the decal to allow heat penetration, applying heat from a heat gun or commercial steamer to soften the adhesive layer, and peeling carefully from one corner at a low angle to keep the substrate intact. Residual adhesive remaining on the surface after the decal is removed is cleaned with an appropriate solvent matched to the surface type. Concrete, stone, asphalt, and coated surfaces each respond to different solvents.
Surfaces That Require Special Care
Historic or architecturally significant surfaces, painted surfaces, rubber flooring, and surfaces with waterproof membrane coatings require material specifications and removal methods that are chosen specifically to avoid surface damage. Our team identifies these conditions during the location scout and builds the material specification and removal plan around the surface requirements rather than using a one-size approach across all locations.
Weather Exposure and Outdoor Durability
Outdoor decals face a set of environmental stresses that indoor floor graphics never encounter. Direct UV exposure from sunlight accelerates color fading in materials that are not UV-stabilized. Rain creates both water exposure at the graphic surface and infiltration risk at the edges where the adhesive meets the pavement. Temperature cycling, from cold nights to warm days, stresses the dimensional stability of the vinyl and can cause edge lifting in materials that were not specified for outdoor temperature ranges.
Material specification for outdoor durability means using UV-stable inks, a UV-resistant laminate layer over the print, and a vinyl substrate with a temperature tolerance range appropriate to the installation climate. A campaign deploying in Phoenix in July faces different thermal stress than a campaign deploying in Boston in April. The material spec should reflect the specific climate conditions of the installation environment.
Rain and Wet Conditions
Rain is the most common cause of premature decal degradation when the material specification is incorrect. Water that infiltrates under the edge of a decal softens the adhesive and causes progressive delamination that spreads from the edge inward over subsequent rain events. Preventing this starts with proper surface preparation, proper adhesive selection, and edge sealing after installation. For campaigns running during seasons with frequent rain, a more aggressive adhesive specification and thorough edge treatment are standard practice rather than optional enhancements.
Design Principles for Ground-Level Media
Designing for ground-level placement requires a different design approach than designing for wall-mounted or overhead formats. The viewing geometry is completely different. Pedestrians looking at a sidewalk decal are looking downward at an angle, not forward at eye level. That angle compresses vertical dimensions and stretches horizontal ones from the viewer’s perspective. A design that looks square or proportional in a flat proof may look vertically compressed at ground-level viewing angles.
Bold, high-contrast graphics read better at ground level than fine-detail work. Large type at a minimum of two to three inches tall at actual installation size remains legible at the foot-to-pavement viewing distance. Very small type, fine lines, and detailed illustrations lose legibility faster on a textured pavement surface and through a non-slip coat than they do on smooth paper or screen surfaces.
Color at Ground Level
Color choices for outdoor ground graphics should account for the fact that pavement is typically dark gray or brown, meaning the decal’s background will be seen against a similar-value surface. High contrast between the decal and the pavement around it creates visual prominence. Decals that are light-colored overall with dark type and graphics have good contrast against most pavement types. Very dark decals with dark type on dark pavement read poorly. The pavement color around the decal edges is part of the visual composition, not a neutral backdrop.
Vendor Qualification for Custom Sidewalk Decal Production
Not all large-format print vendors have the outdoor ground graphic specification expertise that campaign-quality decals require. A vendor experienced in indoor floor graphics may not have tested their materials in outdoor pedestrian conditions, which means their non-slip ratings, adhesive selections, and UV resistance specifications may not hold up in actual outdoor use. Qualifying a vendor for outdoor sidewalk decal production requires asking specific questions about outdoor test results, not just reviewing their standard material specification sheets.
Ask vendors for test data on non-slip coefficient of friction under wet conditions, UV exposure duration tests that demonstrate color stability, and adhesive performance data for the specific surface types used in the campaign markets. Ask whether they have executed comparable campaigns in comparable outdoor conditions and whether they can provide references from those campaigns. A vendor who can answer those questions specifically is producing to a professional standard. A vendor who deflects to generic material spec sheets may not have outdoor testing data to support their claims.
Print Quality Review Before Deployment
Require a proof print at actual deployment size before approving full production. Review the proof at the actual viewing angle and distance of the installation, not at desktop review distance. Hold the proof on a surface similar to the installation surface if possible. Evaluate legibility, color accuracy, non-slip surface texture, and edge quality. Production problems that are visible in the proof stage are correctable. Production problems discovered after the full run is delivered and the installation crew is already in the field are expensive and time-consuming to address.
Cost Factors and Budget Planning for Custom Decal Campaigns
Custom sidewalk decal campaigns involve several cost components that brands should understand before finalizing budget estimates. Material costs vary based on substrate specification, laminate grade, and non-slip coating requirements. Larger quantities reduce per-unit cost but require more production lead time. Special shapes or very large individual graphics increase production cost per unit relative to standard rectangular formats.
Installation labor costs depend on the number of locations, the surface preparation required at each location, crew size required for large-format installs, and the geographic spread of the campaign. Multi-city campaigns with many locations typically require multiple regional crews rather than a single traveling team, which affects the logistics cost structure. Removal costs, if the brand is responsible for removal rather than allowing natural weathering, add a post-campaign labor component that should be included in the initial budget estimate.
Budgeting for Reprints and Replacement
For campaigns with a hold period exceeding two weeks, budget for the possibility of partial replacement at high-traffic locations where edge lift or visible wear develops before the campaign window ends. Having replacement materials produced as part of the initial print run costs less than ordering emergency reprints after the campaign has launched. For campaigns with a strict quality standard throughout their duration, a 15 to 20 percent overage in material quantity is a practical planning allowance.
When Custom Sidewalk Decals Are the Right Format and When They Are Not
Decals are not the best format when the campaign benefits from an organic street-art tone, when the deployment timeline is compressed to overnight or same-day, or when the primary environment is heavily textured pavement that would compromise adhesion. In those cases, sidewalk stencils offer a faster, more appropriate format for the conditions.
For events, retail, and sponsorship activations where brand presentation standards matter, decals are almost always the correct choice. For high-volume street campaigns where coverage and speed matter more than polish, stencils often produce a better outcome per dollar spent.
How Custom Sidewalk Decals Integrate With Larger Campaign Formats
Sidewalk decals work best as part of a broader guerrilla marketing campaign rather than as a standalone format. Ground graphics create a directional layer that reinforces what posters, street teams, and other formats are communicating from eye level and above. The combination creates a full-environment brand presence that audiences encounter at multiple planes simultaneously.
For events, decals often work best in combination with experiential activations that give the audience a reason to stop at the branded location. The decal creates the visual environment around the activation and reinforces the brand presence throughout the venue footprint. For retail campaigns, decals at the door or in the approach corridor pair well with interior pop-up activations that create the in-store moment the street-level media drove the audience toward.
Frequently Asked Questions
What materials are used for custom sidewalk decals?
Most outdoor sidewalk decals use pressure-sensitive vinyl with a UV-resistant laminate and a non-slip texture coat on the surface. The substrate thickness typically ranges from 3 to 6 mil depending on expected foot traffic volume and hold duration. Adhesive type varies based on surface porosity. Smooth concrete accepts standard pressure-sensitive adhesive well. Textured or rough pavement may require a more aggressive adhesive formulation or a thicker substrate to maintain edge integrity.
Why do custom sidewalk decals need a non-slip finish?
Ground graphics are installed in spaces where people walk, queue, pivot, and carry objects. A smooth vinyl surface becomes slippery when wet, creating a liability and safety risk. Non-slip finishes add texture to the surface layer that maintains traction equivalent to surrounding pavement. The finish is a functional safety requirement, not a cosmetic upgrade. Any outdoor ground graphic installed in a pedestrian area should carry a non-slip rating.
How long do custom sidewalk decals last?
Expected hold time depends on foot traffic volume, weather conditions, surface type, and adhesive specification. On smooth concrete in moderate traffic areas, a properly installed decal typically holds cleanly for two to four weeks. High-traffic surfaces or rough pavement may reduce hold time. Decals installed on sealed indoor concrete or tile in event venues can hold significantly longer. Most brand campaigns are designed for one to four week windows.
How are custom sidewalk decals removed?
Removal involves scored edges, heat application with a heat gun or commercial steamer to soften the adhesive layer, and careful peeling from one corner. Residual adhesive is cleaned with an appropriate solvent matched to the underlying surface. Removal should always be planned before installation because surface type determines which adhesive is used and which removal method is appropriate.
When should a brand use custom decals instead of sidewalk stencils?
Custom decals are appropriate when the campaign requires a polished, high-resolution graphic that stencils cannot produce, when the design involves photographic imagery or gradients, when the hold time needs to exceed a few days, or when the venue has presentation standards requiring a finished look. Stencils are appropriate when the campaign benefits from a street-art tone, when deployment timeline is compressed, or when the environment makes decal adhesion impractical.
What surface types work best for sidewalk decal installation?
Smooth or lightly brushed concrete is optimal. Sealed concrete, polished stone, and smooth asphalt also accept decals well with appropriate adhesive selection. Heavily textured, exposed aggregate, or rough brick surfaces make adhesion difficult and can cause edge lifting. Wet or dirty surfaces must be cleaned and fully dried before installation begins.